I’ve got the fever, folks – the Spring Fever! I was cleaning out my closet and putting away my winter clothes (hopefully for a good, long while!) and I came across a dress that I bought a year ago on Target clearance because…well, it was on clearance. And I liked the emerald green color. Unfortunately, it was hideous when I actually tried to wear it (not a great quality when you’re talking about clothing). It had a great hem to it so I decided to make The Redhead a skirt out of it instead of throwing it out and it turned out great-fitting, but kind of boring.
Lately, I haven’t had a lot of time to spare, so I fancied her skirt up in one of the quickest and most fool-proof ways possible (seriously simple!) and I thought I’d share. I’m gonna loosely use the word “embroidery” in this post, but in all honesty, this technique can be as simple or as complex as you want to make it. I kept it super-SUPER-simple for my projects. If you’re awesome at embroidery, embroider away!
You’re Going to Need:
A Design, Solvy (water-soluble stabalizer that you can get at craft/fabric stores), Pen or Marker, Embroidery Floss/Craft Thread, Embroidery Hoop
Step #1:
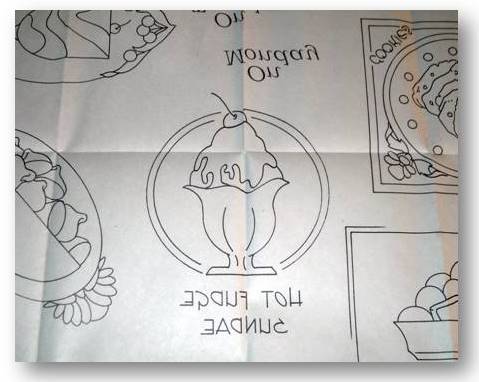
First of all, you just need to find a design that you like! For me, I like to use simple designs and line-drawings. For the Ice Cream Sundae design on The Redhead’s skirt, I actually used an iron-on transfer that I bought at Joann Fabrics a long time ago.
For another project, I printed some line-drawings that were available on the internet. You’re going to trace your design, so you can use just about anything – for instance, tracing one of the free, downloadable stickers here could be really cute (and you can adjust the size)!
Step #2:
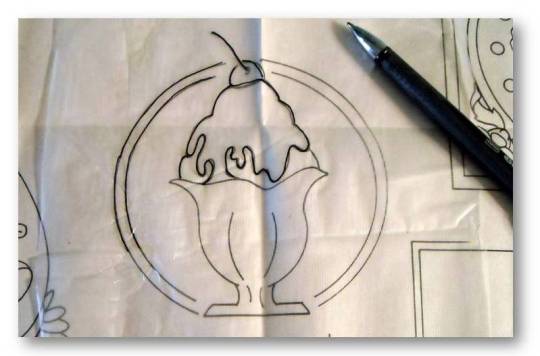
Use a little bit of tape to anchor a square of Solvy to your design and use a pen or permanent marker to trace it right onto the Solvy.
Once the ink is thoroughly dry, place the Solvy onto the material that you are embroidering on and secure it with your embroidery hoop.
Step #3:
Let your creative juices flow with the color and style of embroidery you want to use! I used three strands of thread for the thickness that I wanted and did straight stitches all around the tracing. Just remember to sew from the front of the garment/project that you are embellishing and to knot your embroidery thread well each time you change thread.
Step #4:
I don’t have any pictures of this step, which is sad because it’s my favorite part!
I specifically use Solvy as my stitch reinforcer on these projects because it’s magic when it comes to its removal – it completely desolves in water but still leaves your stitches more durable! Once you’re done stitching, remove the embroidery hoop, trim off excess Solvy and then dunk your project in a bowl of water and watch the Solvy disappear (you may need to rub off any undesolved Solvy with your finger in the water). You can throw your project in the drier or let air dry and viola! You’ve got a cute, embellished, fabulous something!
The awesome thing about embellishing this way is that it can be easily portable – you can throw the project in your bag to work on while waiting, riding the bus or watching TV and you can easily start and stop the project whenever you need to, which is a huge plus for me when The Redhead asks for a glass of milk, I get her a glass of milk, she spills the glass of milk and then requires another glass of milk. No harm done to the project due to my lack of attention!
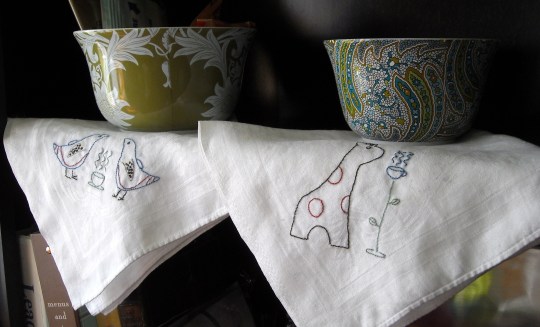
My Mom got a set of embroidered tea towels for her birthday that I did in the same way:
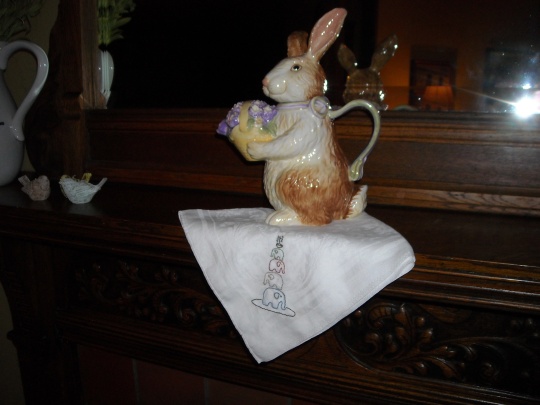
Before I knew it, she had distributed them throughout her house along with her Easter decorations!
I hope that you are finding great ways to get ready for Springtime – if you try this project out on something of your own, drop me a line and tell me how it turned out!
![]()


